Have you heard the buzz about APIs and want to learn how to use them? This comprehensive guide will explain what APIs are, why they’re useful, and give you hands-on examples for working with real-world APIs. Let’s dive in!
What is an API?
API stands for Application Programming Interface. But what does that mean?
An API is a set of programming code that enables data transmission between one software product and another. It defines a set of rules that explain how two applications can communicate with each other.
The key takeaway? APIs allow different software applications to connect and share data or functionality.
Why are APIs Useful?
So why are developers and businesses so excited about APIs? APIs provide the following key benefits:
APIs power our digital world. When you use an app on your phone or visit a modern web application, APIs are at work behind the scenes enabling the experience.
Types of APIs
There are many different types of APIs that serve different purposes. Here are some of the most common API types:
Web APIs
Web APIs, or web service APIs, are APIs designed to be accessed over the web and HTTP. These are commonly what people refer to when talking about APIs in general. Some examples include:
Operating System APIs
These types of APIs allow developers to interact with the operating system, such as file system access, notifications, camera, etc. For example:
Database APIs
Database APIs allow performing actions and accessing data from a database. For example:
Web Browser APIs
These APIs are built into web browsers and allow interacting with the browser itself. Some examples:
Remote APIs
Remote APIs make functionality available over the network. For example:
Internal APIs
Internal APIs are meant for internal use inside an organization. For example:
As you can see there are many flavors of APIs. Web APIs are likely most relevant when getting started.
API Examples
It’s easier to understand APIs with some examples. Let’s look at some common APIs you may use:
Now that you understand the big picture of what an API is, let’s look at how you can work with them as a developer.
Additional API Examples
In addition to Twilio and Spotify, here are some other useful APIs:
What is API Integration?
API integration refers to connecting two or more applications together via their APIs to share data and functionality.
For example, a shopping app could integrate with a payment API to collect payments from customers. Or a social media app could integrate with a maps API to show users' locations.
API integration involves building an interface between the two applications. The key steps include:
1. Understanding each API
Study what capabilities each API provides. Review the documentation to identify what endpoints and resources are available.
2. Designing the integration
Plan how the two systems will connect and what data will flow between them. Determine which API endpoints need to be called from each application.
3. Handling authentication
Figure out the authentication mechanism required by each API. Obtain API keys or access tokens as needed for your app to access each API.
4. Making requests between the APIs
Code the application logic to call the necessary API endpoints, potentially transforming or mapping data between the two systems.
5. Testing the integration
Rigorously test the integration end-to-end. Are the right APIs called at the right times? Is data passed accurately between the systems?
6. Debugging issues
Fix any bugs that arise such as wrongly formatted data or calls failing. Trace errors to their root cause in either API.
7. Documenting the integration
Thoroughly document how the two systems connect including schemas, endpoints, credentials, etc to avoid issues down the road.
The goal is seamless integration between the applications by having them “talk” via their APIs. This creates more powerful applications without having to reinvent the wheel.
How Do APIs Work?
APIs allow different software systems to communicate with each other by providing a defined interface for exchanging data and instructions. Here is a high-level overview of how they work under the hood:
Client makes a request
An API client initiates a request to the API server. This request indicates the specific resource or functionality being requested. Common ways to make requests include:
Request gets routed internally
The API receives the request and routes it to the appropriate internal code to handle it. Large API providers have complex routing logic to direct requests quickly.
Business logic is executed
Any business logic runs to fulfill the request. For example, this could mean querying a database, performing calculations, calling other internal APIs, etc.
Response is formatted
The output is formatted into the expected API response structure. Common response formats include JSON, XML, CSV or raw text.
Formatted response is returned
The API server returns the formatted response to the client. This completes the API request.
Client receives response
The API client receives the response. It can then parse it to extract the requested data orconfirmation of the operation's success.
This request-response messaging pattern is how APIs enable applications to communicate. The client makes a request in a standard format and the API returns a response in an expected structure according to the API’s interface definition.
Exploring and Testing APIs
Once you find an API you want to use, the first step is exploring what it can do. Many APIs provide developer portals with documentation and tools to try things out quickly without writing any code.
Let’s look at some handy options for testing APIs:
API Documentation
Most API providers offer interactive documentation of their API. This allows browsing API resources, available endpoints, request formats, responses, etc.
For example, here is the API reference for the Spotify Web API:
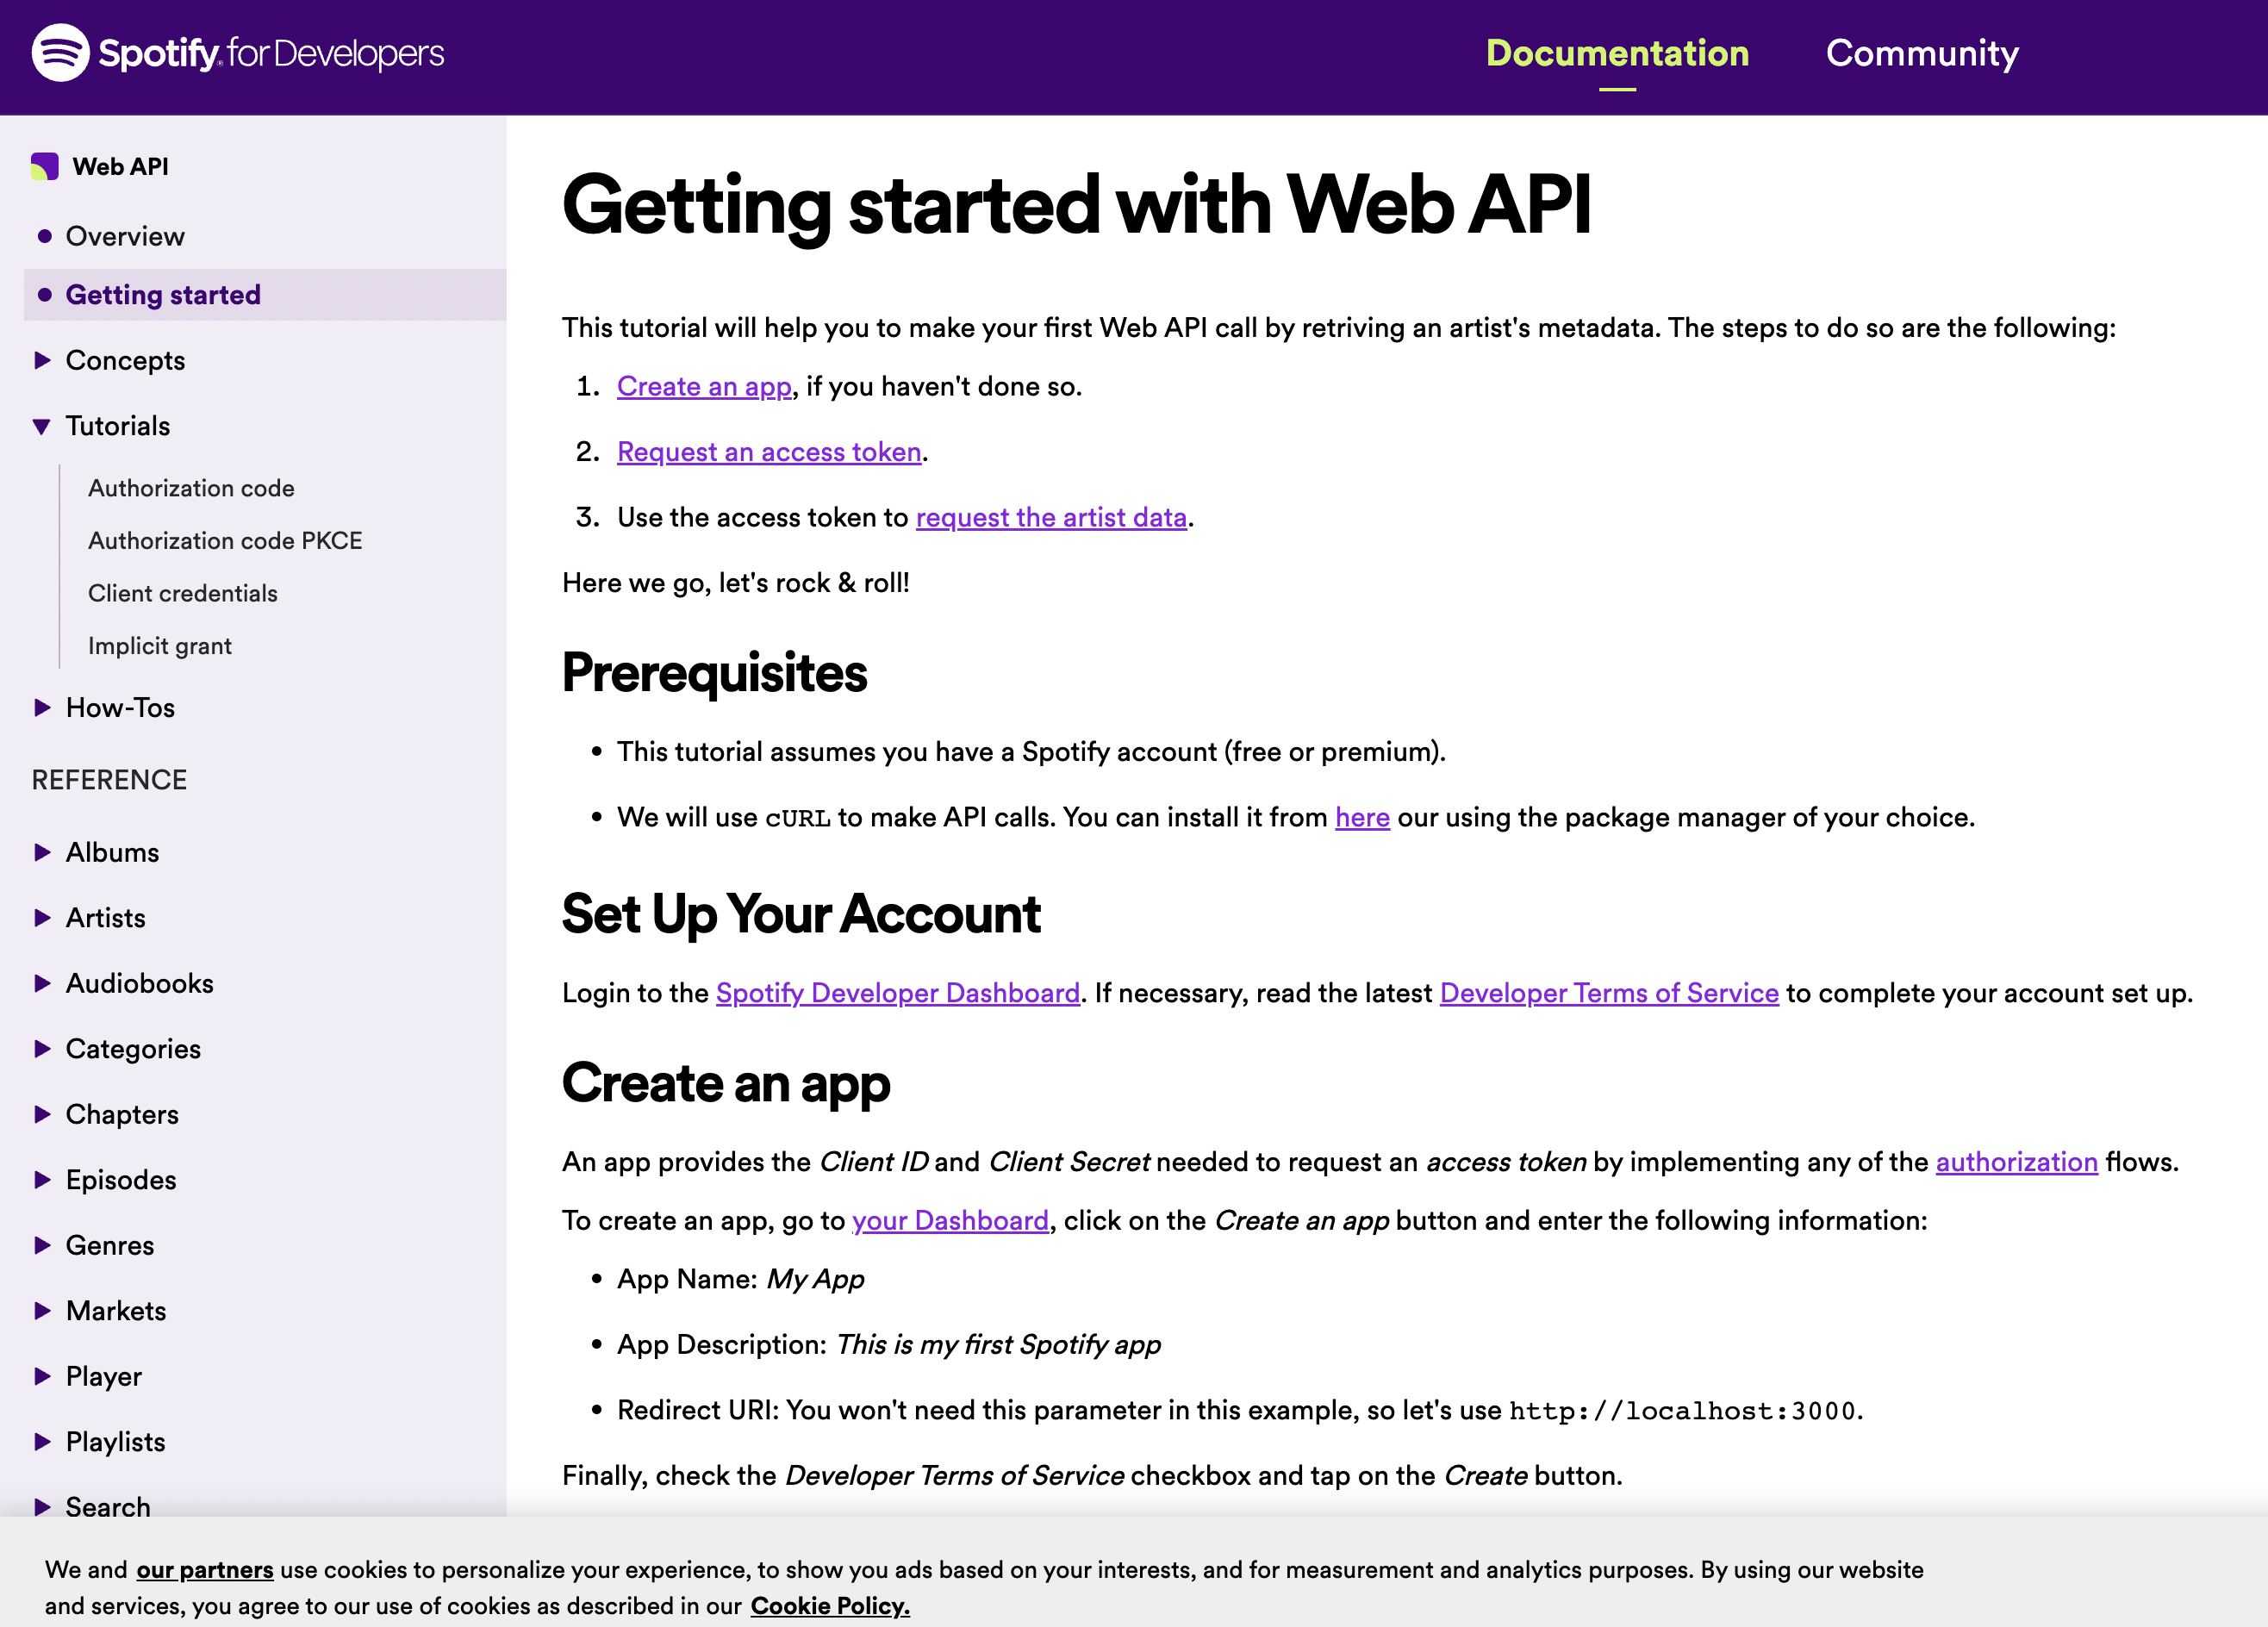
Reviewing the documentation gives you an overview of how the API works before diving into the details.
Interactive API Consoles
Many API docs provide consoles that allow you to try out API requests directly in the browser.
For example, here you can test out searching Spotify’s music library:
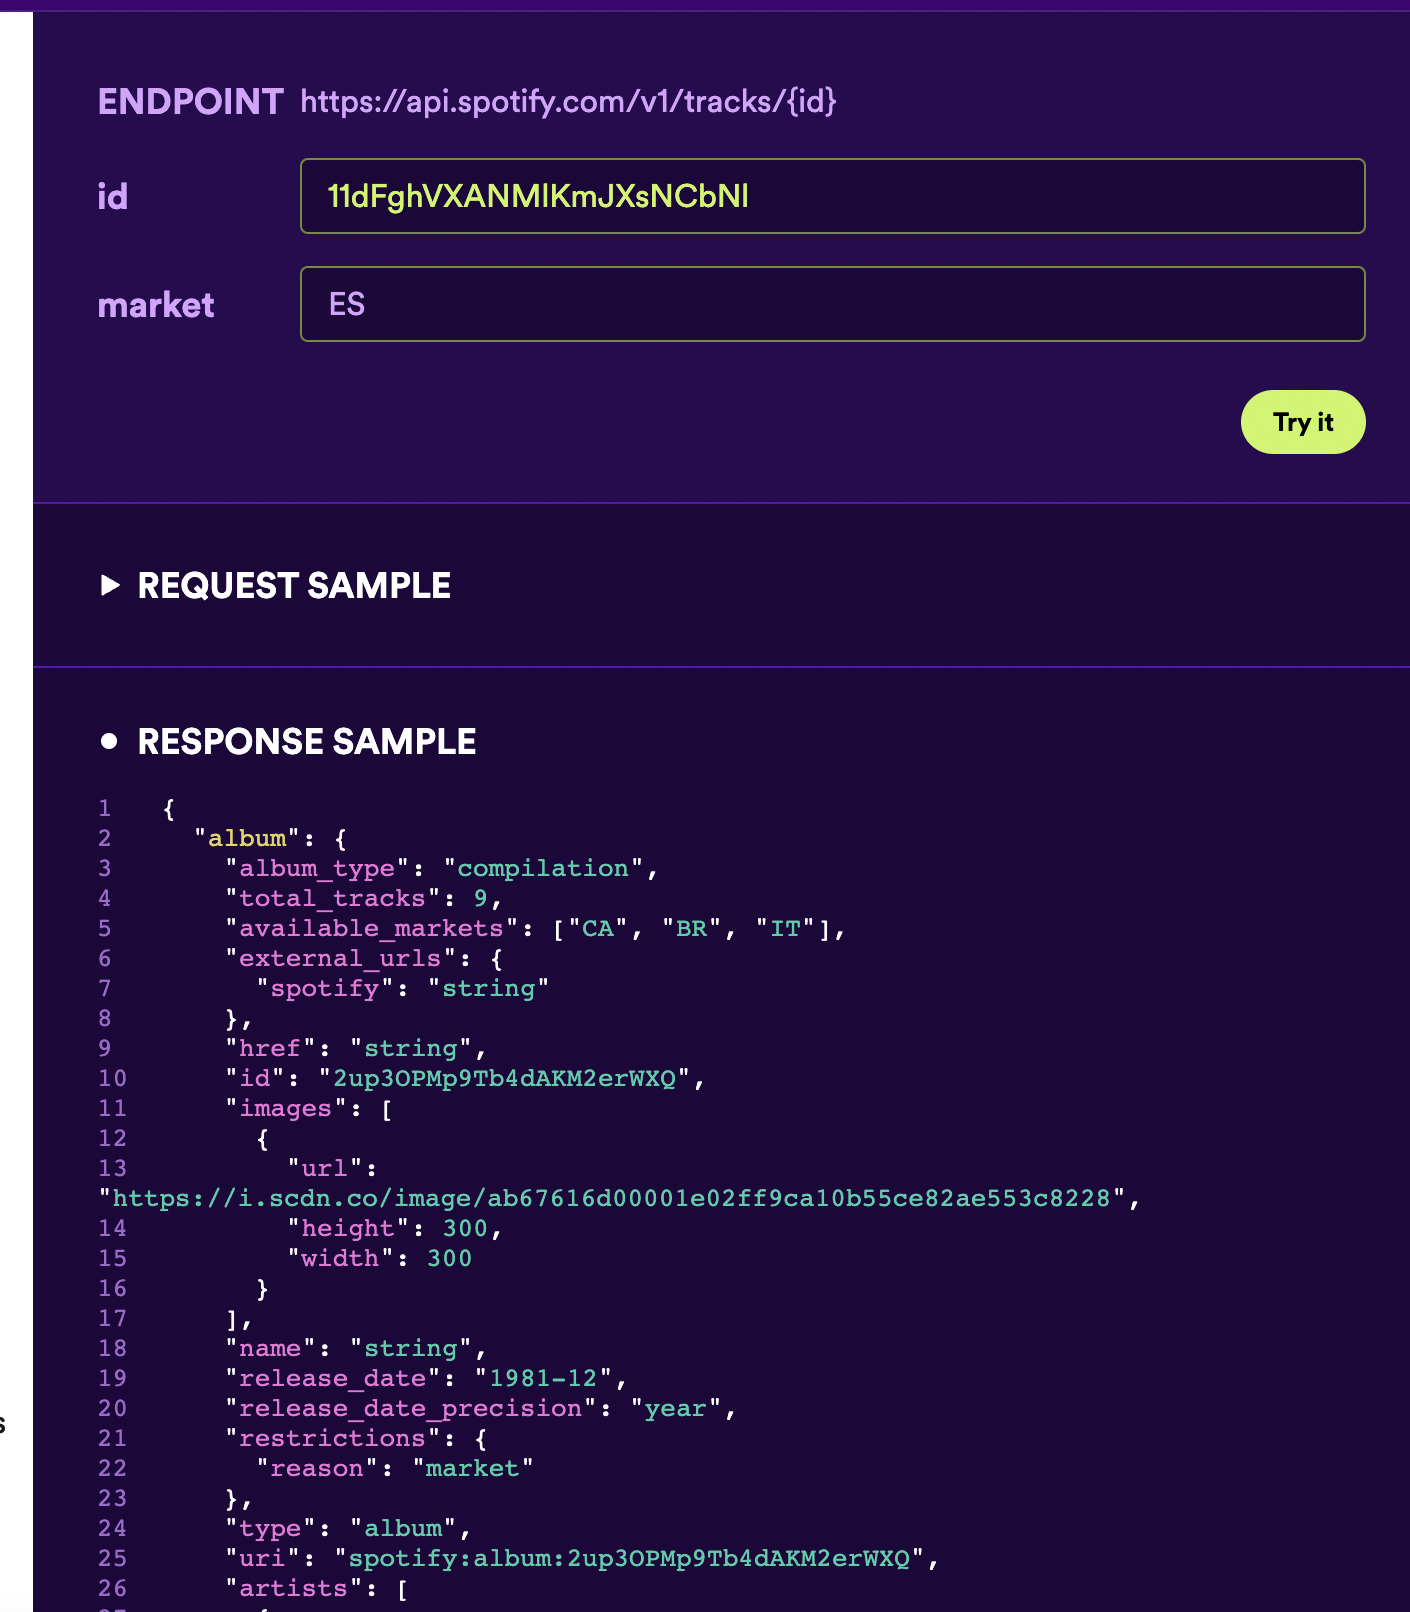
These consoles are great for quickly testing how an API responds without needing to write any code yet.
cURL
cURL is a popular command line tool developers use to transfer data using various protocols. It’s very handy for testing APIs.
For example, you could make this cURL request to get search results from the Spotify API:
curl -X "GET" "<https://api.spotify.com/v1/search?q=Beyonce&type=artist>" -H "Authorization: Bearer <your API key>"
The API documentation usually provides cURL examples you can simply copy, paste, and run in your terminal. This allows playing with the API right from your computer.
API Authentication
When using APIs, you need to authenticate your app/developer account in order to access the API. Common methods include:
API Keys
Pass a unique API key with each request:
GET /api/photos?api_key=123456789
OAuth 2.0
Authenticate users and delegate access via OAuth:
// Initialize OAuth client
const oauthClient = new oauth.OAuth2Client();

// Request access token
const tokens = await oauthClient.getAccessToken();

// Pass access token
GET /api/user?access_token=abc123...
JSON Web Tokens (JWT)
Pass JWT in request header:
Authorization: Bearer eyJhbGci...<snip>...yu5CSpyHI
Parsing API Responses
APIs can return data in different formats like JSON, XML, CSV, etc. You need to parse the response accordingly:
JSON
Copy codeconst response = await fetch('/api/users');
const users = await response.json();
XML
Copy codeconst response = await fetch('/api/users');
const xml = await response.text();

const parser = new DOMParser();
const doc = parser.parseFromString(xml, 'application/xml');

// Traverse XML nodes
const users = doc.querySelectorAll('user');
CSV
Copy codeconst response = await fetch('/api/reports');
const text = await response.text();

const rows = text.split('\n');
const headers = rows[0].split(',');
const users = rows.slice(1).map(row => {
  const values = row.split(',');
  return headers.reduce((obj, key, i) => {
    obj[key] = values[i];
    return obj;
  }, {});
});
Debugging APIs
Common issues when using APIs:
Use console logs, debugger statements, and API testing tools like Postman to debug problems.
Tools for API Exploration
In addition to documentation and consoles, there are various developer tools that make API exploration even more powerful:
Postman
Postman is a popular API testing tool used by developers. It provides an intuitive GUI for building requests, grouping requests into collections, viewing responses, and managing headers/authentication.
Postman also can generate client code for calling the API from your app in a variety of languages. It’s a very full-featured API workflow tool.
REST Clients
Simple REST API clients like RESTFox or Thunder Client allow making API calls right within your code editor. These are handy when you just want to quickly try hitting an API without all the bells and whistles of Postman.
Helper Libraries / SDKs
Most API providers also offer SDKs (software development kits) which wrap the API in an easy to use library for your programming language of choice.
For example, Twilio provides a Node.js library that simplifies sending text messages to their API:
// Download the helper library
const twilio = require('twilio');

// Initialize client
const client = twilio(accountSid, authToken);

// Send a message
client.messages.create({
  to: '+15555555555',
  from: '+15555555555',
  body: 'Hello from Twilio'
})
These helper libraries handle the underlying API requests so you can focus on your application logic.
Now let’s look at a real-world example of building an application with APIs.
Building a Photo Sharing App with APIs
To demonstrate API concepts in action, let's walk through building a simple photo sharing app that lets users submit pictures via text message.
We'll use the Twilio API for handling text messages and a JavaScript front-end framework called Vue.js.
Overview
Here's an overview of how our app will work:
- Users text photos to a Twilio phone number we configure.
- When Twilio receives a new message, it makes a webhook request to our backend API.
- Our API processes the message, extracts the photo, and saves it to cloud storage.
- The front-end Vue app fetches the photos from our API and displays them.
Now let's look at the key steps to build this:
1. Sign up for a Twilio account
First, we need to get a Twilio account which will provide a phone number and API credentials for sending/receiving messages.
Go to twilio.com and sign up for a free trial account. This will provide some initial credit to send test messages.
Once signed up, you'll get an Account SID and Auth Token which are needed to authenticate when calling Twilio's APIs.
2. Get a Twilio phone number
Next, go to the Manage Phone Numbers page in your Twilio console. Search for and buy a phone number you can use. Make note of this number.
3. Handle incoming messages
When Twilio receives a new SMS message to your number, it will make an HTTP POST request to a webhook URL you configure.
We need to write a serverless function that runs when Twilio hits this webhook. It will extract the photo from the message and save it to a cloud storage bucket we set up.
Here is an example using a Twilio Serverless Function:
exports.handler = async function(context, event, callback) {

  // Get photo media from MMS message
  const mediaUrl = event.MediaUrl0;

  // Download photo file
  const photo = await fetch(mediaUrl);

  // Upload photo to cloud storage
  await uploadToStorage(photo);

  // Response back to Twilio
  const twiml = new Twilio.twiml.MessagingResponse();
  twiml.message('Thanks for your submission!');

  callback(null, twiml);
};
This function gets triggered when Twilio hits our webhook. It downloads the photo, saves it, and responds back with a confirmation message.
4. Create API endpoint
Next, we need an API endpoint that will return all the submitted photos. This is what our Vue front-end will call to get the data.
We'll again use a serverless function. This one fetches the uploaded photos from cloud storage and returns them in a formatted JSON response:
exports.handler = async function(context, event, callback) {

  // Fetch photos metadata from cloud storage
  const photos = await storage.list('photos');

  // Return array of formatted photos
  return callback(null, {
    photos: photos.map(formatPhotoMetadata)
  });

};

function formatPhotoMetadata(photo) {
  return {
     src: photo.mediaLink,
     description: photo.name,
     alt: photo.name
  };
}
This endpoint retrieves photo metadata from cloud storage, loops through it, formats it, and returns it as JSON.
5. Update front-end
Finally, we need to update our Vue.js front-end to call this API endpoint and display the photos.
We'll use the browser Fetch API to retrieve the data and update the app state:
export default {
  // Initial state
  data() {
    return {
      photos: []
    }
  },

  // When app mounts, fetch photos
  mounted() {
    this.loadImages();
  },

  methods: {
    async loadImages() {
      const response = await fetch('/api/photos');
      this.photos = await response.json();
    }
  }
}
Now when the app loads, it will call our API, get the latest photo submissions, and display them on the page dynamically!
Comparing REST vs GraphQL
REST and GraphQL are two common API paradigms. Here is an overview of their main differences:
Data Fetching
REST has fixed endpoints that return pre-defined data structures. GraphQL has a single endpoint and you request only the fields needed.
// REST
GET /users/1234

// GraphQL
{
  user(id: 1234) {
    name
    email
  }
}
Versioning
REST APIs version via the URL:
Endpoints
REST has multiple endpoints like
Fetching Related Data
REST needs multiple round trips to fetch related data. GraphQL resolves all nested data in one call.
Caching
REST responses can be cached as simple key/value pairs. GraphQL caching is more complex due to nested queries.
Documentation
REST uses external docs. GraphQL is self-documenting via its schema and query language.
Performance
GraphQL solves the "over-fetching" problem and can be faster. REST is simple and typically more cacheable.
Complexity
GraphQL has a steeper learning curve. REST is simpler to get started with.
GraphQL offers more flexibility while REST provides better caching and performance at scale. Choose the approach that best fits your API needs.
Securing API Usage
When integrating with public APIs, it's important to follow security best practices to prevent issues like service abuse, data leaks, and hacks. Here are some tips:
Don't expose API keys in client code
Never embed API keys directly in client-side code, since this makes them visible to anyone. Instead, make API calls from your backend server. For browser apps, store keys in server environment variables.
Implement rate limiting
To prevent spamming APIs and exceeding usage quotas, implement rate limiting on the client side. This restricts how many API requests can be made per minute/hour.
For example, in Node.js:
Copy code// 100 requests per hour
const rateLimiter = new RateLimiter({
  windowMs: 60*60*1000,
  max: 100
});

function makeApiCall() {

  // Limit requests
  await rateLimiter.removeTokens(1);

  // API call...
}
Securely store API credentials
Never store API keys or access tokens in version control. Instead use secret management services like AWS Secrets Manager. These securely encrypt credentials and provide access at runtime.
Follow authorization best practices
When exposing API endpoints, implement proper authorization rules via API keys, OAuth scopes, or ACLs. Make user roles and permissions restrictive by default.
Validate and sanitize user input
Sanitize any user-provided input to stop injection attacks. Validate data types, formats, and ranges before passing to APIs.
By following these API security tips, you can build robust integrations that stay protected.
Summary
This walkthrough showed how APIs enable building apps by letting you leverage external functionality instead of reinventing the wheel.
We used Twilio for text messaging, cloud storage for media uploads, and Vue.js for the front-end - all APIs and libraries that made development easier.
The core concepts we covered were:
APIs are at the heart of modern web and mobile apps. As you build projects, look for helpful APIs that can accelerate your development and provide robust, scalable functionality.
Hopefully this overview gave you a solid foundation for getting started working with APIs in your own projects!
Proxying API Requests
When making API requests, you may want to proxy them through an intermediary server instead of directly from your own IP. Proxying can be useful for:
Forwarding Requests
You can configure your HTTP client library or API wrapper to forward requests through a proxy URL:
// Node.js example
const apiCall = await axios({
  method: 'get',
  url: '<https://api.example.com/data>',
  proxy: {
    host: 'proxy.example.com',
    port: 8000
  }
});
Handling IP Blocks
If making large volumes of requests, you may encounter IP-based blocks from API providers. Getting access to a robust proxy service can help avoid this.
Proxies API offers a simple API for proxying requests through millions of rotating IPs to avoid blocks. It also handles CAPTCHAs, user-agent rotation, and auto-retries.
You can call the Proxies API to fetch and render a webpage through proxy:
curl "<https://api.proxiesapi.com/?key=API_KEY&render=true&url=https://example.com>"
Proxies API has a free tier to get started. The proxying abstraction frees you to focus on your core application logic rather than proxy management.